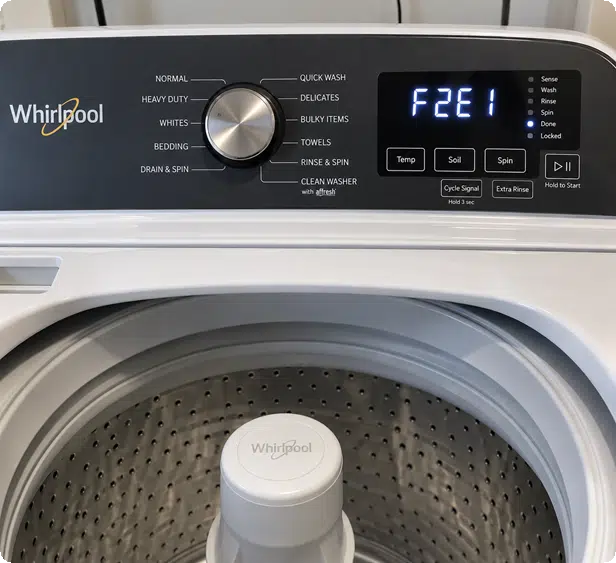
Encountering a Whirlpool washer F2E1 error code (or F02E01 on digital displays) indicates a User Interface / Stuck Key Fault on Whirlpool, Maytag, Amana, and Kenmore washing machines. This critical diagnostic code triggers when the main control unit (ACU or CCU) detects that one of the console keys or touchpads has been continuously pressed or electrically shorted for more than 15 consecutive seconds.
When F2E1 activates, the control panel usually locks up, refuses to start a cycle, or repeatedly beeps whenever you attempt to select wash options.
⚠️ SAFETY FIRST: Always unplug the appliance you're working on from the wall outlet, turn off the breaker, or both, to completely disable power before opening the top console or touching electrical wiring.
In most cases, an F2E1 error is caused by a physically stuck push button, dirt or liquid intrusion on the membrane switch matrix, a loose or corroded ribbon cable connecting the User Interface (UI) board to the main board, or an internal micro-switch short on the UI assembly.
What Triggers the Whirlpool Washer F2E1 Error Code?
The User Interface (UI) board contains a matrix of tactical tactile switches or capacitive touch sensor pads. During standby and active wash cycles, the main control board sends continuous low-voltage reference pulses through a flat flexible cable (FFC) to monitor keypad state.
If a specific key line remains pulled low (grounded) continuously for 15 seconds or longer without releasing, the control board interprets this as a stuck switch or shorted touchpad trace. To prevent unpredictable cycle behavior or accidental start signals, the main control halts machine operation and flashes F2E1.
Common causes include:
- A jammed or misaligned plastic console button that physically prevents the tactile switch underneath from popping back out.
- Spilled laundry detergent, bleach, or water seeping between the console bezel and the UI circuit board, creating a conductive bridge across switch contacts.
- Delamination or internal electrical shorting across the flexible touch membrane.
- Corrosion or loose pin connections on the ribbon harness connecting the UI to the Appliance Control Unit (ACU), similar to harness communication failures seen in a Whirlpool F1E1 main control error.
- Damaged door or lid start sequence lines, which can interact with a Whirlpool F5E2 lid lock error if the start button line is affected.
Step-by-Step Diagnostic & Repair Guide
⚠️ Safety Warning: Unplug the washer from the electrical wall outlet before removing console housings or touching wire harness connections. Electronic UI boards contain sensitive electrostatic discharge (ESD) components.
Step 1: The Tactile & Physical Key Inspection
- Inspect every button on the control panel (Power, Start/Pause, Temp, Soil, Spin Speed, Modifiers).
- Press each button down firmly and release it. Listen and feel for a clear, crisp tactile “click.”
- If a button feels mushy, stuck down, or fails to spring back up, carefully remove the console bezel and clean out any sticky detergent build-up using isopropyl alcohol (91%+) and a soft microfiber cloth.
- If all physical buttons move freely but the code persists upon plugging the machine back in, proceed to Step 2.
Step 2: Inspect the Flat Flexible Cable (FFC) Ribbon Harness
- Disconnect power to the washer.
- Remove the console top or rear panel screws to access the back of the User Interface board.
- Unplug the ribbon harness connecting the UI board to header J11 (or equivalent UI header) on the main ACU board.
- Inspect the gold or tin contacts on both ends of the ribbon cable for green oxidation, burn marks, or bent locking pins.
- Clean the edge connector pins gently with an electrical contact cleaner spray. Re-seat the connector firmly into its terminal lock and test machine operation.
Step 3: Test UI Electrical Specs with a Multimeter
Set your digital multimeter to Resistance (Ohms / Ω) or DC Volts (VDC) to verify power supply and switch continuity:
| Component / Test Point | Expected Electrical Spec | Diagnostic Verdict |
|---|---|---|
| Individual Key Switch (Unpressed) | Open Circuit / Infinite (OL) | PASS: Switch contacts are open in standby position. |
| Individual Key Switch (Pressed) | Less than 100 Ω (Direct Short / Continuity) | PASS: Switch successfully bridges circuit when actuated. |
| Key Switch Sticking (Unpressed) | 0 Ω to 5 kΩ (Partial / Full Short) | FAIL: Internal keypad switch is shorted. Replace UI assembly. |
| UI Power Supply (ACU Header J11 Pin 1 to Pin 3) | +5 VDC or +12 VDC Constant | PASS: Main ACU is supplying normal logic power to the console. |
| UI Power Supply (ACU Header J11 Pin 1 to Pin 3) | 0 VDC | FAIL: ACU power supply is dead. Replace main control unit. |
Calibration & Diagnostic Modes by Machine Type
After clearing a stuck button or replacing a defective User Interface module, you must execute a service diagnostic test to confirm that all touch keys register and clear stored fault logs.
Category 1: Rotary Knob Top Loaders (VMW Platform)
Examples: Whirlpool WTW5000DW, Maytag MVWC565FW, Amana NTW4516FW
- Clear Dial Positioning: Turn the cycle selector dial counterclockwise 1 full rotation.
- Enter Diagnostics: Turn the dial Right 3 clicks, Left 1 click, and Right 1 click within 6 seconds. All green status lights will flash.
- UI Key Test: Turn the dial until the Sensing (or status LED equivalent) light is lit. Press START. Toggle each button on the console; a corresponding LED or chime will verify that every key registers cleanly.
Category 2: Push-Button / Digital Touch Top Loaders (Cabrio, Bravos, Smart Series)
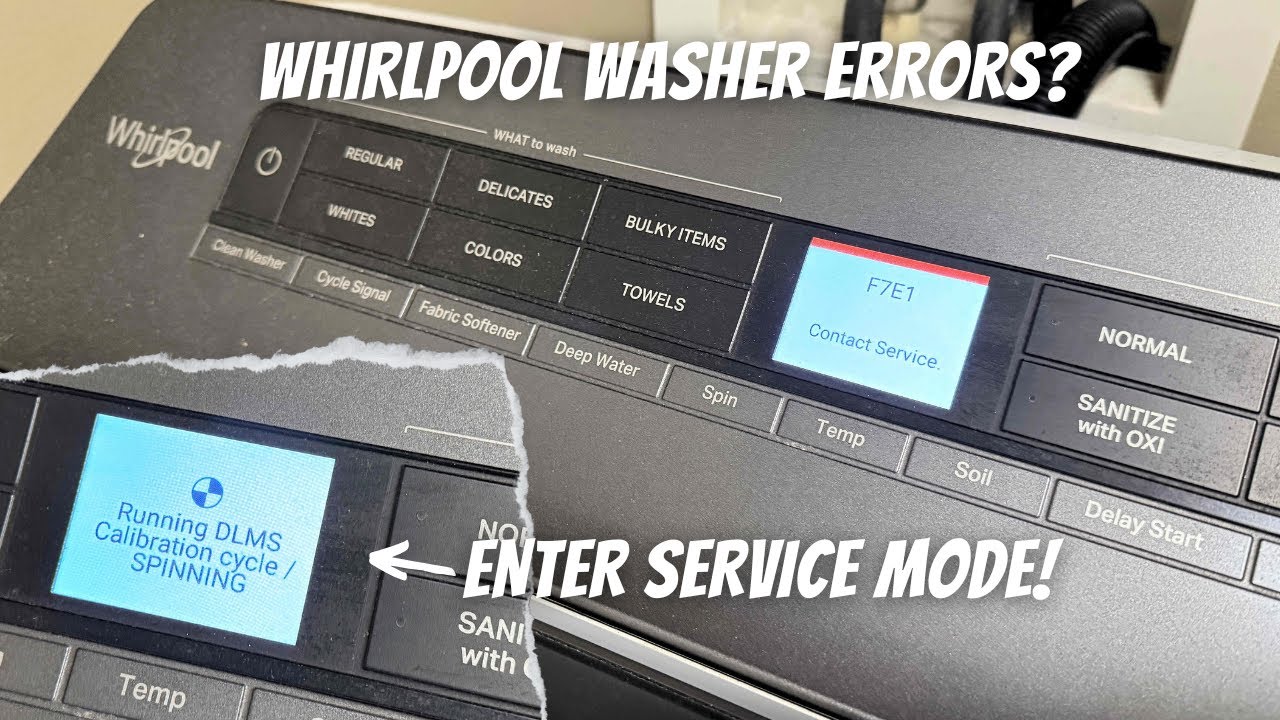
Examples: Whirlpool WTW8500DC, Maytag MVWB835DW, MVW6230HC
- From Standby mode (plugged in, screen off), choose any 3 non-power keys on the console.
- Press the 3 keys sequentially: 1 – 2 – 3, 1 – 2 – 3, 1 – 2 – 3 within 8 seconds.
- All display segments and button indicators will illuminate (
88orC0). - Press each console button individually. The digital display will show specific key codes (e.g.,
d0,d1) to verify that no keys remain stuck or unresponsive.
Category 3: Front-Load Washers (Duet, Epic, Modern Front Loaders)
Examples: Whirlpool WFW92HEFC, Maytag MHW5630HW
- Ensure the machine is in Standby mode with power connected.
- Select any option button (except Power) and execute: Press & Hold 3 seconds -> Release 3 seconds -> Repeat 3 times.
- The display will show stored codes. Press Power / Cancel to erase historical fault records, then press each console touch key to test responsiveness.
Video Guide: Testing and Replacing a Washer User Interface
If your physical key checks and multimeter tests confirm that the console touchpad switch matrix or UI board has failed internally, watch this step-by-step replacement guide:
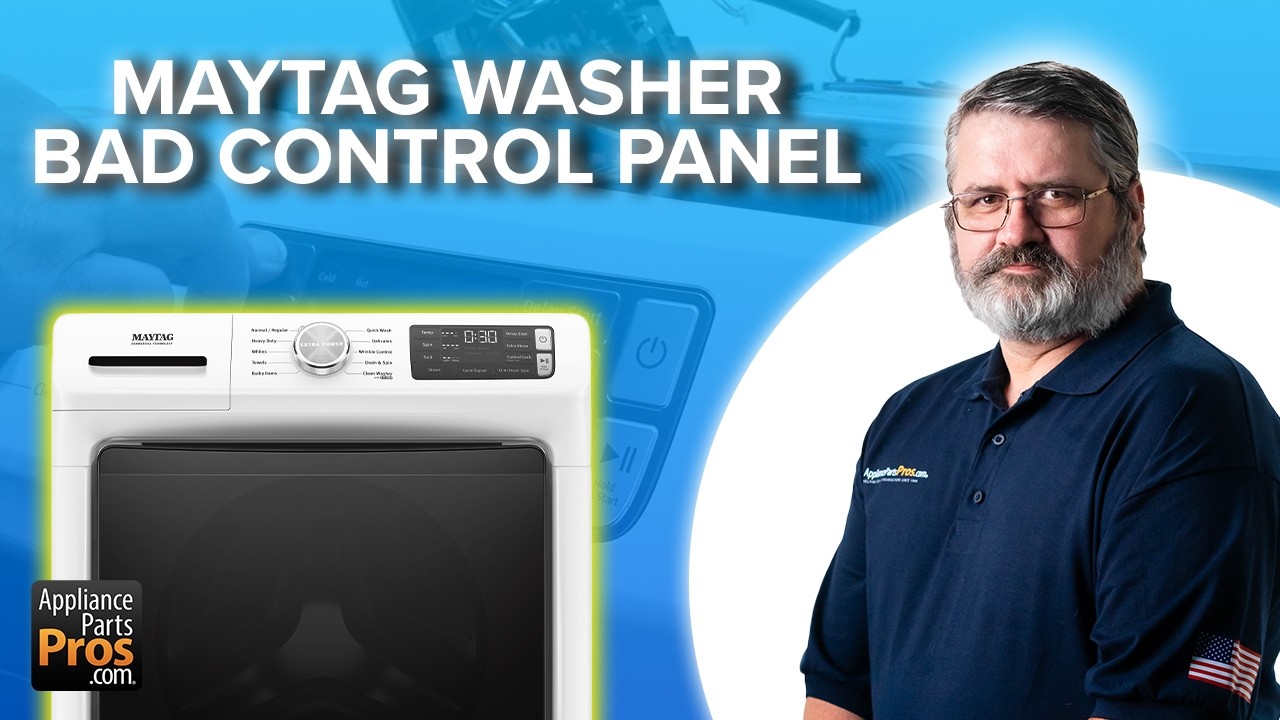
How to Clear the F2E1 Error Code
- Perform Hard System Reset: Unplug the washer power cord from the wall outlet for 5 to 10 minutes to drain board capacitors and reset user interface memory.
- Reconnect & Clear Log: Plug the unit back in, enter the platform-specific Service Diagnostic Mode detailed above, and press Power / Cancel to clear saved error logs.
- Check Operational Status: If the code returns immediately upon restoration of power without any buttons being pressed, the UI circuit board or membrane switch matrix is shorted and requires replacement.
Related Diagnostic Guides
Resolving Your Whirlpool Washer F2E1 Error Code
Troubleshooting a Whirlpool washer F2E1 error code or Maytag washer F2E1 error code comes down to isolating a simple mechanical key jam from an electronic user interface short. By performing tactile switch testing, checking the ribbon cable connector for moisture or corrosion, verifying +5 VDC / +12 VDC supply lines with a multimeter, and running diagnostic key routines, you can restore full console responsiveness and get your washer back into service. Thanks for stopping by!