
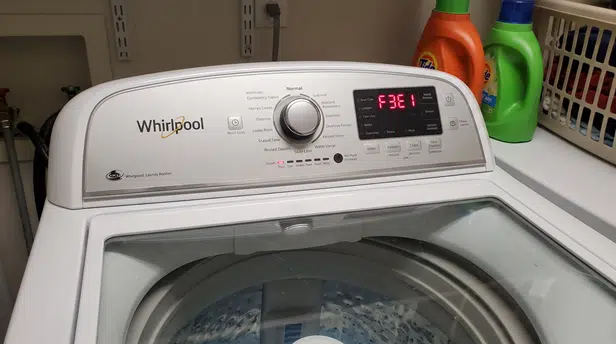
Seeing a Whirlpool washer F3E1 error code (also displayed as F03E01 on some front-load and digital models) indicates a Pressure Sensor / Switch Fault on Whirlpool, Maytag, Amana, and Kenmore washing machines. This error triggers when the main control board (ACU/CCU) receives an out-of-range water level signal or detects an open/shorted pressure transducer circuit while filling, washing, or draining.
In most instances, an F3E1 error stems from a clogged or pinched air transducer hose, a faulty electronic pressure switch, a damaged wire harness at header J14, or soap scum buildup inside the outer tub air dome trap.
⚠️ SAFETY FIRST: Always unplug the appliance you're working on from the wall outlet, turn off the breaker, or both, to completely disable power before opening the top console or touching electrical wiring.
What Triggers the Whirlpool Washer F3E1 Error Code?
During any fill or wash stage, the pressure sensor monitors water volume inside the tub by measuring air backpressure pushed up through a narrow plastic hose connected to the bottom of the outer tub. As water rises in the tub, air trapped in the hose compresses and activates the internal diaphragm of the pressure switch (or changes the frequency/voltage output on electronic transducers). If the main control board receives no pressure change, senses air leakage, or reads input voltage outside factory limits (below 0.5 VDC or above 4.8 VDC), it aborts the wash cycle, runs an automated 4-minute drain routine, and logs the F3E1 error code.
Common failure points include:
- A kinked, crushed, or disconnected clear plastic air hose between the tub dome and pressure switch.
- Soap scum, lint, or mineral deposits clogging the air trap nipple at the base of the outer tub.
- A blown diaphragm or shorted sensing circuit inside the pressure switch assembly.
- Damaged or loose wiring pins at the control board J14 connector or pressure switch harness plug.
- A failed analog-to-digital pressure transducer circuit on the main control board.
Step-by-Step Diagnostic & Repair Guide
⚠️ Safety First: Always disconnect power to the washer by unplugging the power cord from the wall outlet before removing console panels, handling internal wiring, or inspecting pressure hoses.
Step 1: Inspect the Air Hose and Tub Trap Nipple
- Unplug the washer and remove the rear panel or top console cover to locate the pressure switch and clear plastic air hose.
- Disconnect the air hose from the pressure switch nipple.
- Inspect the entire length of the tube for kinks, cracks, holes, or oil/soap contamination.
- Blow gently into the air hose toward the tub. You should hear air bubbling freely through residual water at the bottom of the tub. If you meet resistance, the air dome trap is clogged with lint or detergent residue.
- If clogged, flush the hose with warm water or clear the lower tub nipple using a flexible pipe cleaner before reattaching.
Step 2: Test the Pressure Sensor with a Multimeter
If the air hose is clear and properly sealed, test the electrical supply and signal output of the pressure switch using a digital multimeter.
- Keep the washer unplugged and access the wire harness connected to the pressure switch (or board header J14).
- Set your multimeter to DC Volts (VDC).
- Reconnect power and carefully back-probe the harness pins while the washer is powered on in standby mode:
| Test Point / Terminal | Expected Value | Diagnostic Verdict |
| VCC Power Supply (Pin 1 to Pin 3 Ground) | +5 VDC Constant | PASS: Main control board is successfully powering the pressure sensor circuit. |
| VCC Power Supply (Pin 1 to Pin 3 Ground) | 0 VDC or < +4.5 VDC | FAIL: Damaged wire harness or faulty main control board output. |
| Signal Output (Pin 2 to Pin 3 Ground) — Empty Tub | 0.5 VDC to 1.2 VDC | PASS: Transducer resting voltage is within normal factory threshold. |
| Signal Output (Pin 2 to Pin 3 Ground) — Tub Filled | 2.5 VDC to 4.5 VDC | PASS: Sensor output rises accurately with water level. |
| Signal Output (Pin 2 to Pin 3 Ground) | 0 VDC or Static +5 VDC | FAIL: Internal pressure transducer failure. Replace pressure switch assembly. |
Note: On mechanical 2-pin pressure switches (older legacy top-loaders), test with resistance (Ω): expect 0 Ω continuity across terminals when empty and Open/OL when air pressure is applied.
Calibration & Diagnostic Modes by Machine Type
After clearing an air hose clog or replacing a faulty pressure switch, you must enter service mode to clear stored fault codes and calibrate the water level baseline.
Category 1: Rotary Knob Top Loaders (VMW Platform)
Examples: Whirlpool WTW5000DW, Maytag MVWC565FW, Amana NTW4516FW
- Clear Memory: Turn the selector dial counterclockwise 1 full turn to reset dial positioning.
- Enter Diagnostics: Turn the dial Right 3 clicks, Left 1 click, and Right 1 click within 6 seconds. All LED lights will flash green upon entry.
- Run Calibration: Turn the dial until only the Rinse light is illuminated. Confirm the wash tub is empty, then press START. The washer will run an automated 2-to-4 minute self-calibration sequence.
Category 2: Push-Button / Digital Touch Top Loaders (Cabrio, Bravos, Smart Series)
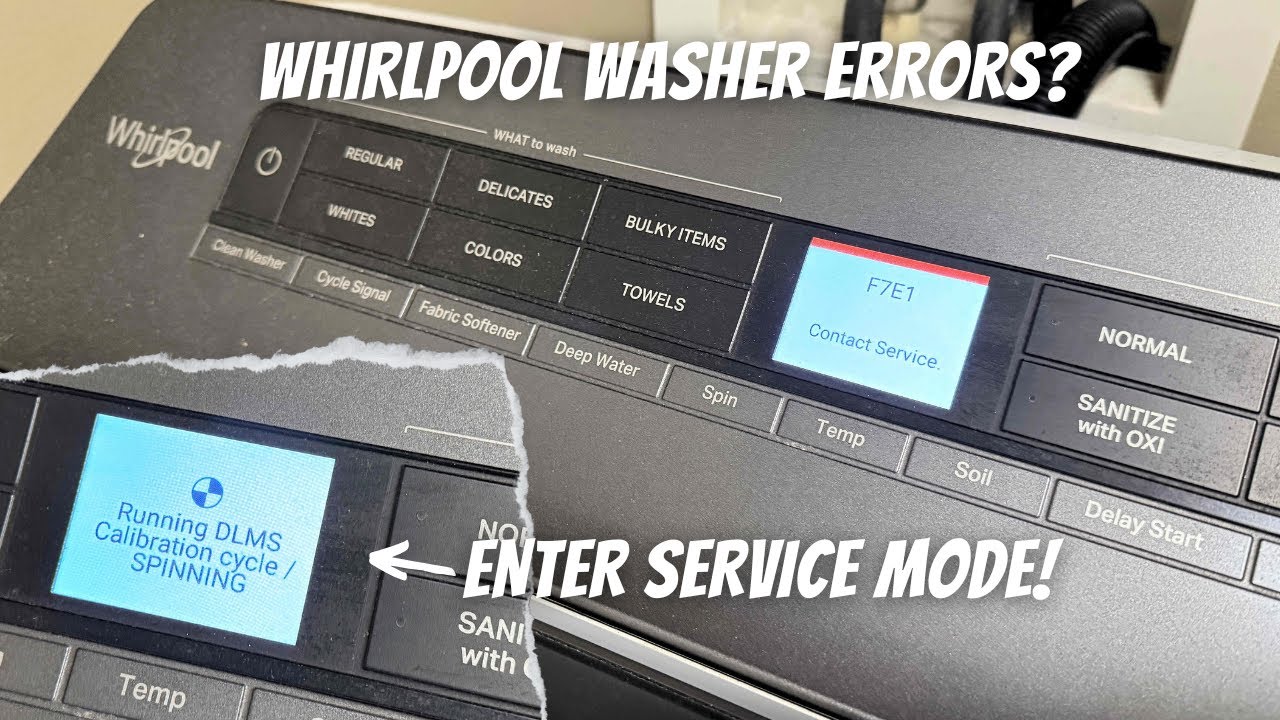
Examples: Whirlpool WTW8500DC, Maytag MVWB835DW, MVW6230HC
- With the machine in Standby mode (plugged in, display powered off), select any 3 non-power keys.
- Press the keys in sequence: 1 – 2 – 3, 1 – 2 – 3, 1 – 2 – 3 within 8 seconds.
- All display lights will illuminate to verify active Service Mode entry.
- Press Power / Cancel once to clear historical error codes, then press Start while code 88 or C0 displays to execute the automated test cycle.
Category 3: Front-Load Washers (Duet, Epic, Modern Front Loaders)
Examples: Whirlpool WFW92HEFC, Maytag MHW5630HW
- Ensure machine is in Standby mode (powered off, plugged in).
- Select any key (except Power) and execute: Hold 3 seconds -> Release 3 seconds -> Repeat 3 times.
- Alternatively, press a 3-key button sequence (1-2-3, 1-2-3, 1-2-3).
- The display will show saved diagnostic codes. Press Power / Cancel to clear history and exit.
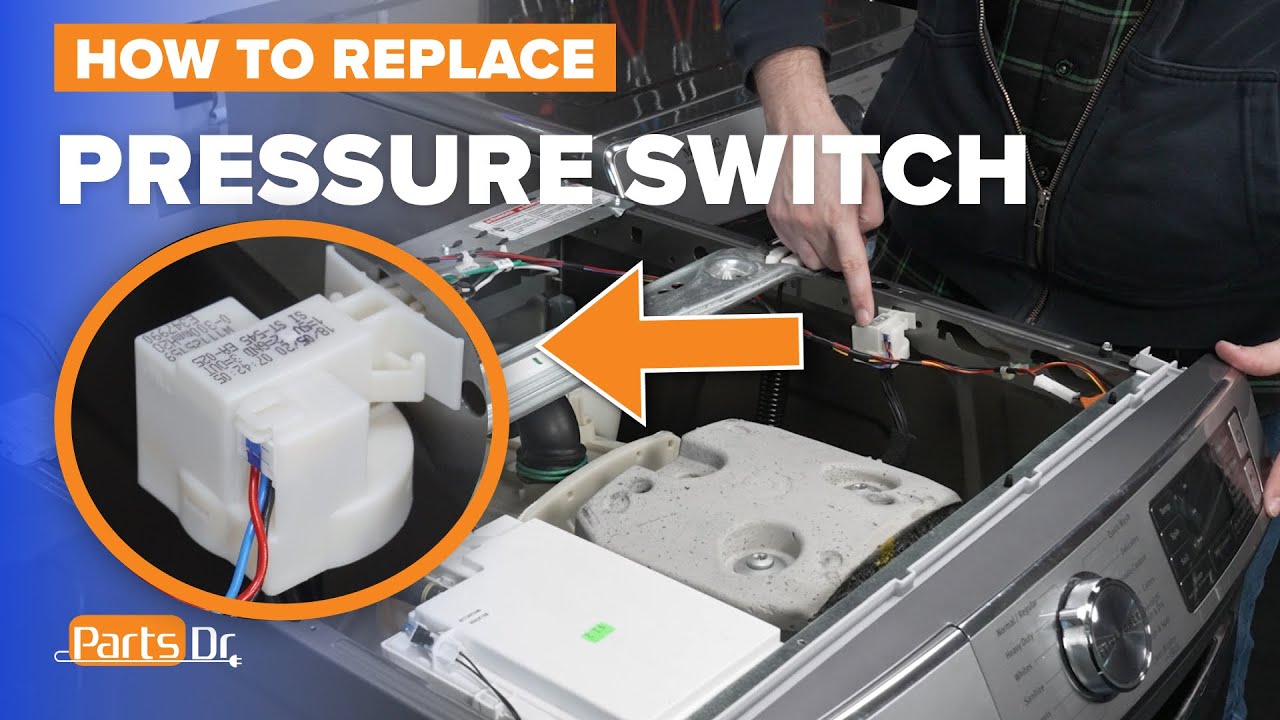
Video Guide: Replacing a Whirlpool / Maytag Pressure Switch
If your multimeter test confirms zero signal change or an open transducer circuit, replacing the pressure switch takes under 15 minutes. Watch this complete replacement walkthrough:
How to Clear the F3E1 Error Code
- Power Hard Reset: Unplug the washer from the wall outlet for 5 full minutes to discharge internal circuit capacitors and reset board processor memory.
- Execute Calibration Routine: Reconnect power and execute the platform-specific Calibration Routine detailed above. The F3E1 code will clear automatically upon successful completion.
Resolving Your Whirlpool Washer F3E1 Error Code
Fixing a Whirlpool washer F3E1 error code (or a Maytag washer F3E1 error code) comes down to checking for clogged air hoses, clearing soap scum from the tub trap nipple, verifying +5 VDC supply voltage, and running a mandatory calibration cycle after replacing parts. By systematically testing the air system before buying new electronics, you can repair your washer quickly and avoid unnecessary replacement costs. Thanks for stopping by!